Easy Glass Bridge When to Use Each Bridge Strategy
S through F explained with timing, risk, and multiplayer context.
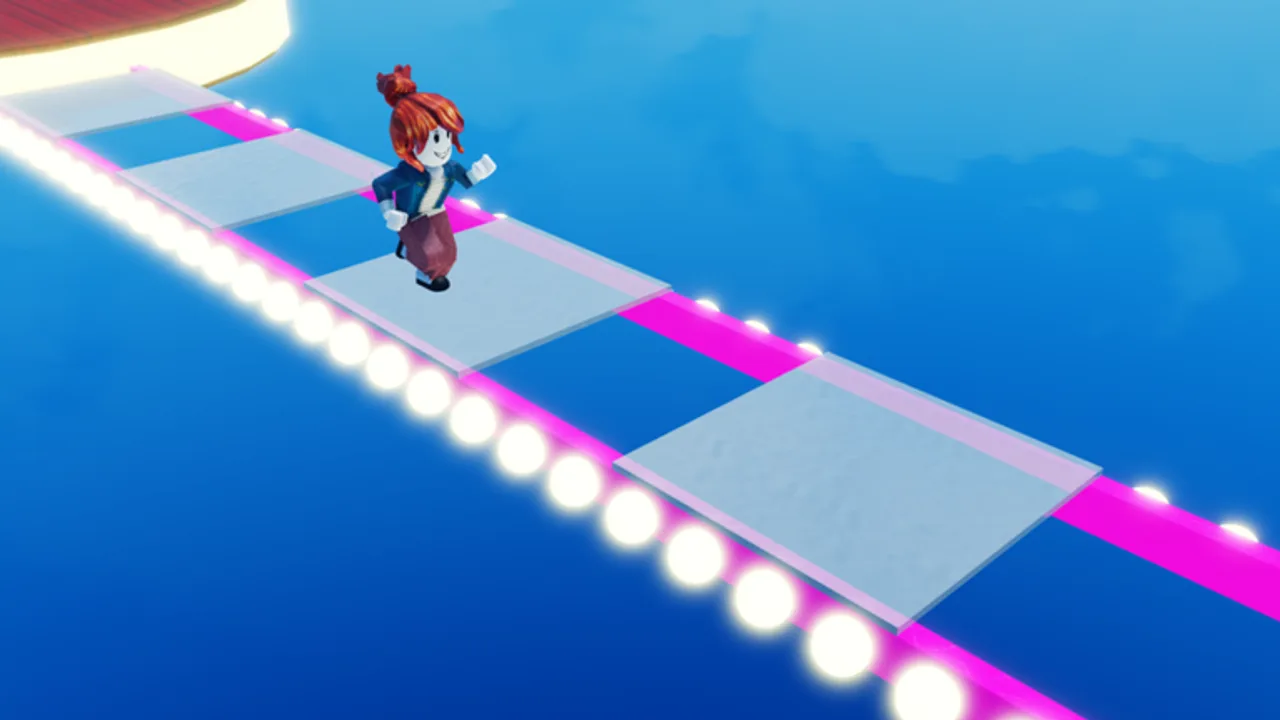
Easy Glass Bridge (Possible Squid Game) rewards calm decision-making more than flashy movement. This page expands the Tier List Hub into a practical playbook: what each tier means, when to use it, and how to switch mid-run without panic. The experience launched on 18 November 2021, still sees maintenance (Roblox API activity into 2026), and remains a short-session obby where crossing the bridge unlocks the win fantasy—and the post-bridge playground.
There is no verified shop of gamepasses and no confirmed code list, so strategy is the entire meta. Use Getting Started for first-join orientation, then return here before sweaty badge hunting on Badges.
S-tier: Wait-and-watch (default on busy servers)
When to use: Public servers with several players already on or approaching the bridge; anytime you see repeated falls ahead.
How to run it: Hold a safe platform near the start or mid-bridge. Watch who lands and who disappears. Mentally (or in chat) mark the successful side for each row. Only step onto tiles that someone else already proved—or the single remaining option after a shatter.
Why it is S-tier: Information is free. Impatient players pay the cost of discovery. You convert their risk into your map. On a game that can host large lobbies, patience scales better than raw jump skill.
Failure modes: AFK forever while the lobby empties; ignoring a real timer pressure if a round structure forces movement; standing so far back that you never see which tile broke.
Upgrade path: The moment three or more rows are known, blend into A-tier memory and finish cleanly.
A-tier: Memorize the revealed path
When to use: After wait-and-watch produces a partial route; on repeat attempts in the same server if the layout has not reset; when coaching a friend through voice or chat.
How to run it: Encode the path as a short string (L R R L … or 1 2 1 1 … if you number lanes). Update the string the instant a new tile is proven. If you fall, respawn and replay the string without re-testing early rows.
Why it is A-tier: Memory turns a random maze into a solved puzzle. It is slightly below pure wait-and-watch only because human error—swapping left/right under pressure—still happens.
Failure modes: Trusting notes from a previous server after a layout shuffle; typing so much that you miss a live shatter; assuming the “easy” branding means the path never changes after patches (always re-verify after notes on the Updates Hub).
B-tier: Follow a confident leader
When to use: You joined late; a single player is clearly clearing rows; you are practicing movement more than theory.
How to run it: Keep one tile of spacing so a break does not chain-kill you if physics or lag desyncs. Mirror their landings, not their sprint speed. If they hesitate, freeze—do not overtake into unknown glass.
Why it is B-tier: Fast and social, but your win rate is tied to someone else’s judgment. Leaders disconnect, troll, or misread the next row.
Failure modes: Hugging so close that both of you load the same questionable panel; copying a blind rusher who just got lucky twice.
C-tier: Visual glass inspection
When to use: Quiet servers where nobody is scouting; as a secondary check before a leap of faith; if you personally verified a tell in the current build.
How to run it: Raise graphics, look for consistent differences in reflection, border thickness, or opacity between paired panels. Confirm with at least one low-risk test when possible.
Why it is only C-tier: Visual tells are inconsistent across Roblox glass-bridge experiences and can vanish after an update. Easy Glass Bridge markets itself as the approachable Squid Game-style bridge—not a guarantee that tempered-glass cinema tricks apply every week.
Failure modes: Spending thirty seconds squinting while a free scout run happens behind you; inventing a tell that does not exist.
D-tier: Calculated leap of faith
When to use: Solo or near-solo lobbies; everyone refuses to move; only one unknown row remains and time pressure is real.
How to run it: Pick one hypothesis, jump once, and immediately convert the result into A-tier memory. Never string five uninformed jumps in a row.
Why it is D-tier: Necessary sometimes, but each uninformed jump is a coin flip against your badge progress toward You won!!!!.
F-tier: Blind rush
When to use: Almost never, unless you are recording a meme clip.
What it looks like: Sprint the full length, ignore falls ahead, mash jump on whichever tile is closest.
Why it is F-tier: You discard free information, collide with other avatars, and reset more than you learn. Blind rush is the opposite of the S-tier mindset that defines high win rates on this wiki’s tier list.
Mid-run decision tree
- Players ahead testing tiles? → S-tier watch, then A-tier memorize.
- One clear leader? → B-tier follow with spacing.
- Empty bridge? → One D-tier probe → immediately A-tier.
- Urge to sprint the unknown? → Stop. That urge is F-tier.
After you cross
Crossing unlocks the easy win fantasy the title promises and progresses the You won!!!! badge. From the playground, shift goals: social toys, expression props, and the harder Secret room hunt (location intentionally withheld by the badge text—we do not invent coordinates). Track creator touch-ups via update history so old path notes stay honest.
Practice checklist
- Warm up with wait-and-watch for two full scouting cycles before any leap of faith.
- Keep path notes short enough to reread while jumping.
- After any unexplained wipe of a “known” route, assume a layout change and rebuild from S-tier.
- Bookmark Official Links for the live Roblox page and creator profile instead of random third-party claims.
Master the S/A hybrid and F-tier disappears from your muscle memory. That is the entire skill ceiling that matters here.
Frequently Asked Questions
Quick answers to the most common questions.
Should I always wait-and-watch?
On populated servers, yes as your opening move. Switch to path memory once tiles are proven, and only take a leap of faith when the lobby gives you no information.
Is memorizing paths still useful if the bridge is called Easy?
Yes. Easy branding lowers the intended difficulty versus Impossible clones, but memory still prevents repeat mistakes and speeds clean clears for the win badge.
Do visual glass tells always work?
No. Treat them as C-tier optional checks. Prefer live player scouting and written path memory whenever other avatars are testing tiles.
What should I do after a patch?
Assume old notes may be wrong. Return to wait-and-watch, then rebuild memory. Confirm patch timing on the Updates Hub and History pages.